
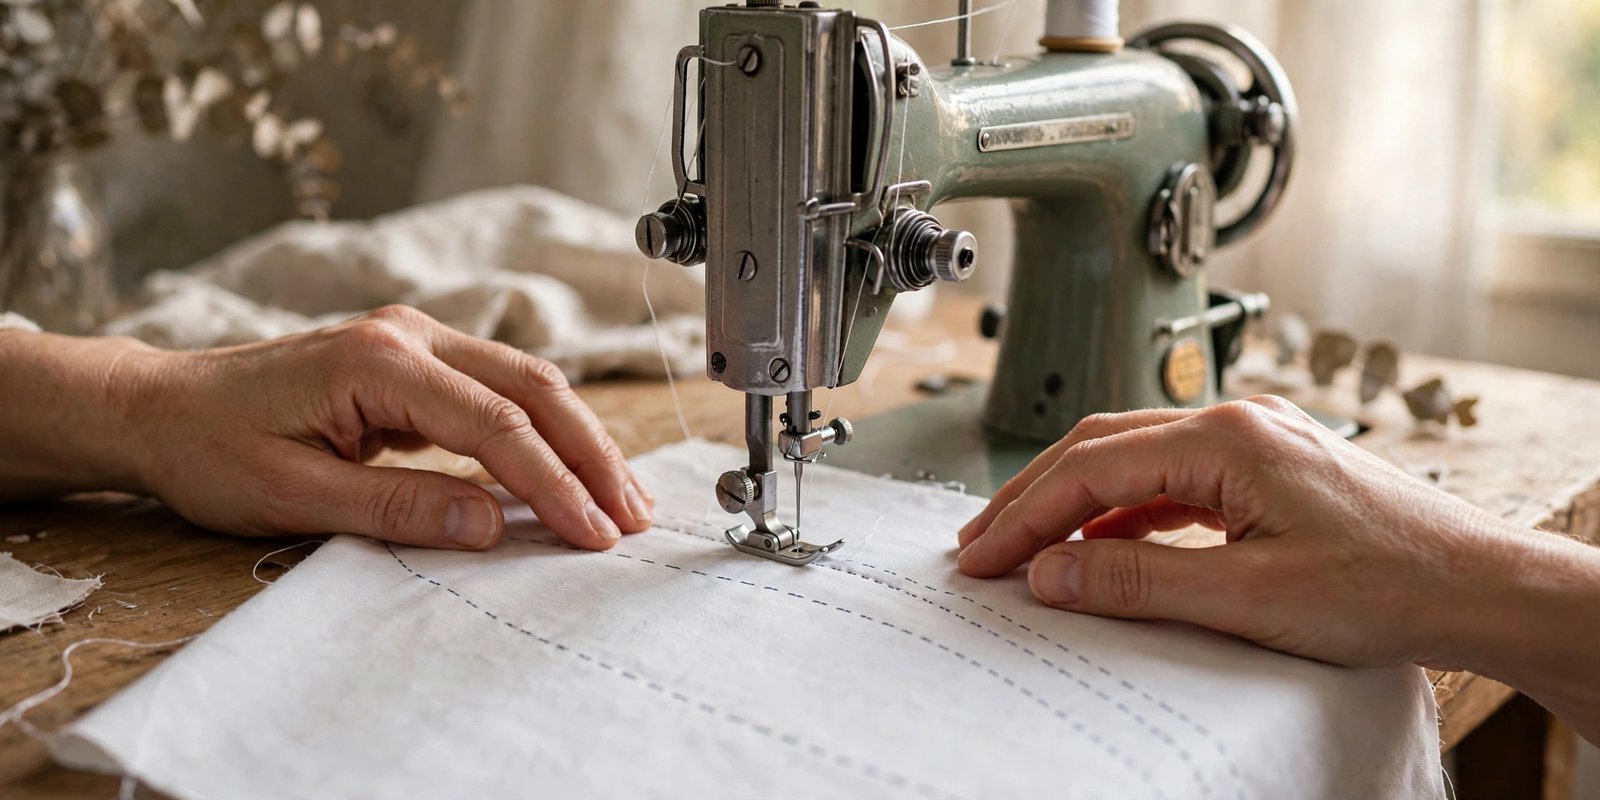
If you want to know how to practice stitch control, here is the honest truth I tell every beginner: your machine is not the problem, and your hands are not clumsy. Stitch control is a learned skill, and it comes from short, deliberate practice drills, not from diving straight into a quilt or a dress and hoping for the best. I spent my first month sewing wobbly seams and wondering why everyone else’s lines looked ruler-straight, until a friend made me sew on paper for a week. That one boring week changed everything.
Stitch control means guiding fabric under the needle so your stitches land exactly where you want them: straight lines that stay straight, curves that flow smoothly, and corners that turn sharply without a nest of thread. The drills below build that control step by step, starting with zero-risk paper practice and ending with a daily routine you can finish in ten minutes. Grab some scrap fabric and let us begin.
Set Up Your Practice Space Right
Before you sew a single stitch, get your setup working for you. Sit directly in front of the needle with the machine at a comfortable height, so you are not hunching or reaching. If your chair is too high or your table wobbles, your lines will wobble too. Set your machine to its slowest speed if it has a speed control, and make sure you have threaded the machine correctly with a fresh needle and decent thread. A dull needle drags through fabric, and dragging is the enemy of control.
Good lighting matters more than most beginners expect. If you cannot see the line you are following, you cannot follow it. Position a lamp so the needle area is brightly lit with no shadows. If your machine is new to you, take a few minutes to learn how to thread a sewing machine properly first, because most early frustration traces back to threading, not technique.
Start with the No-Thread Paper Drill
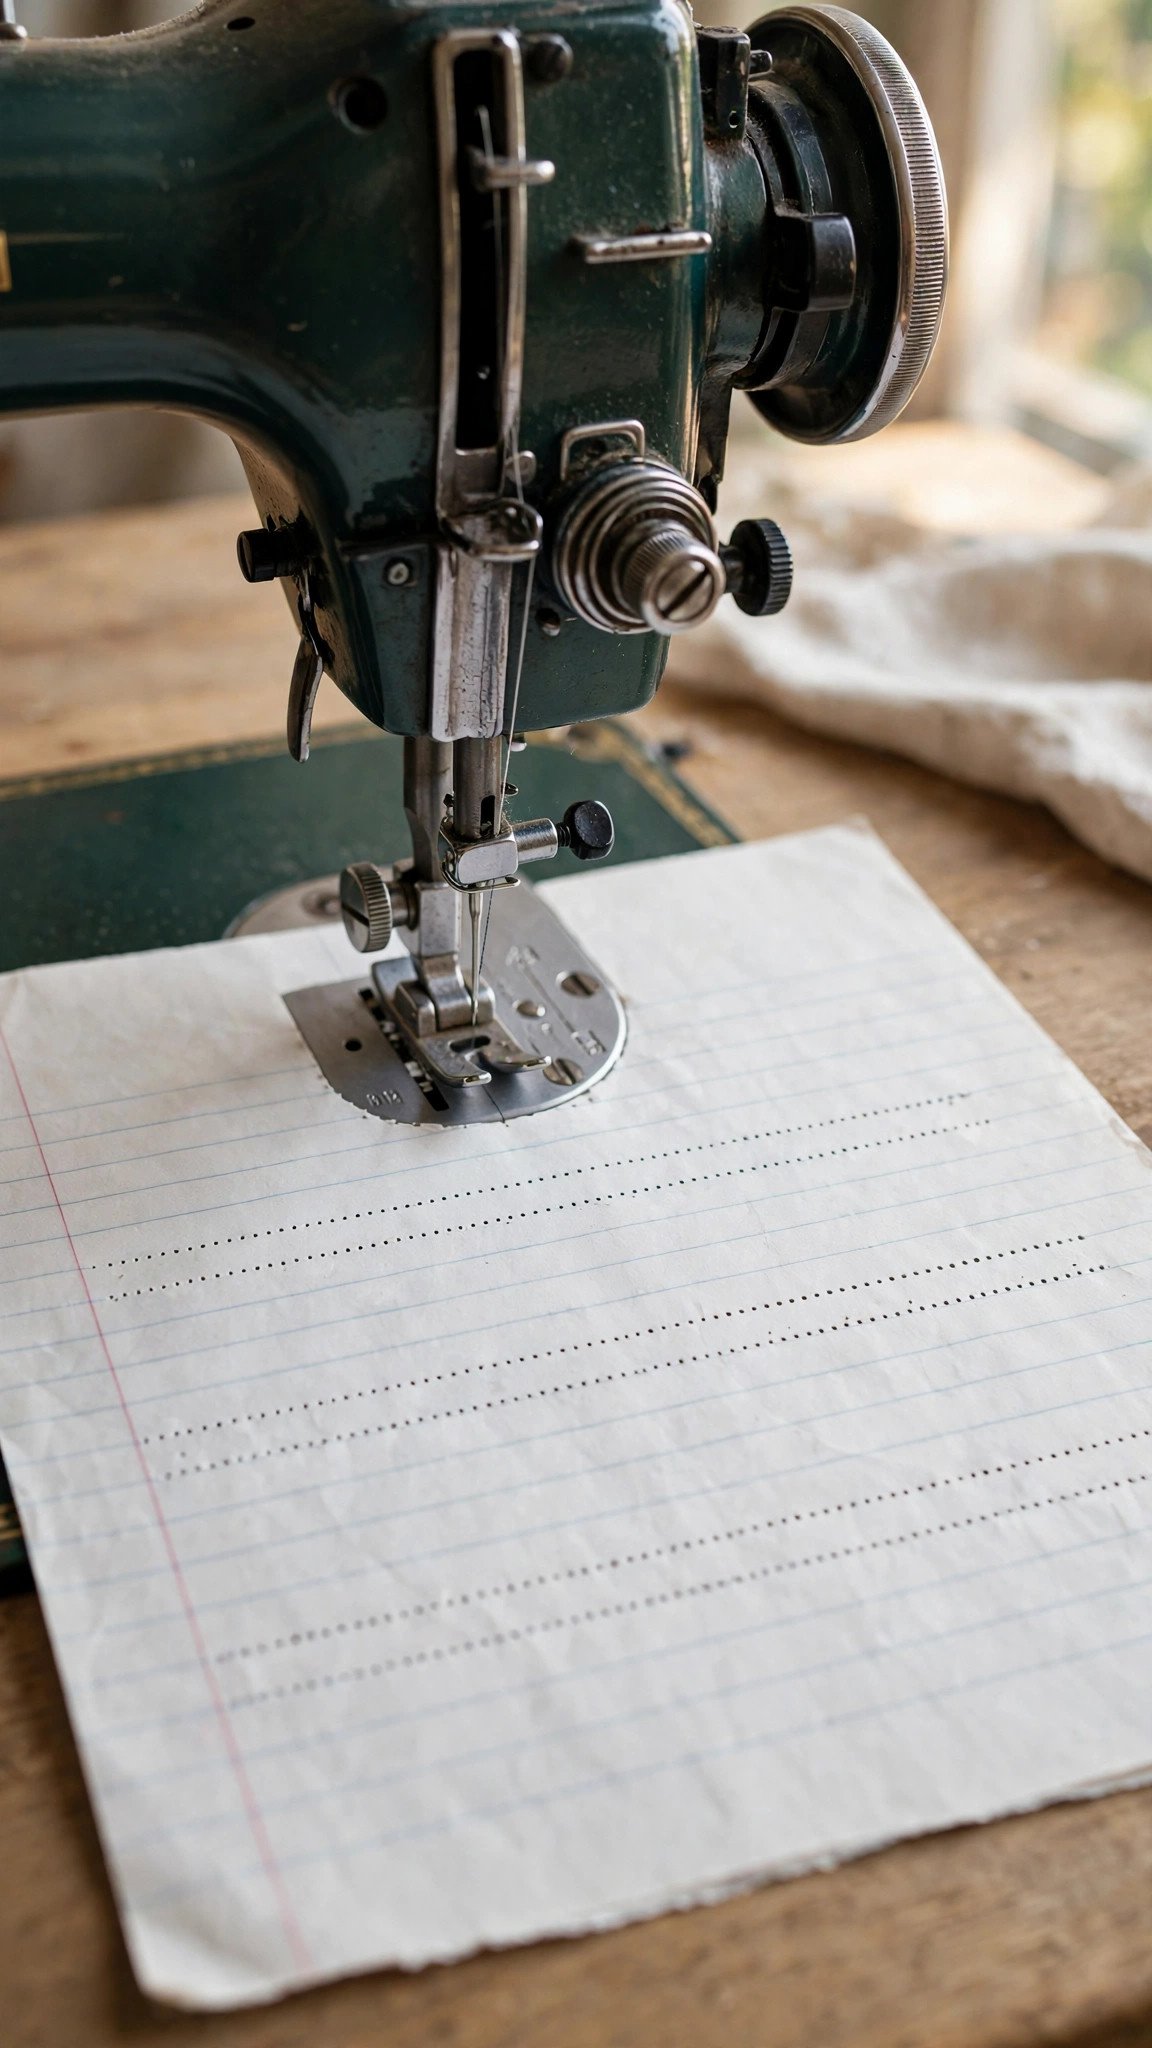
This is the drill my friend prescribed, and it is the fastest way to build muscle memory without wasting a scrap of fabric or thread. Take a sheet of notebook paper or printer paper, draw straight lines on it with a ruler, and sew along them with an unthreaded machine. The needle punches a neat row of holes, so you can see exactly where your stitches would have landed, and there is no thread to jam or tangle.
Sew slowly along each line, then draw zigzag lines and practice those, then draw curves and circles. The magic of the paper drill is that it removes every variable except your hands and the foot pedal. You learn how much pressure the pedal needs, how the fabric or paper feeds, and where to look while you sew. Spoiler: look at the line ahead of the needle, not at the needle itself. Five minutes of this a day for a week will do more for your control than any gadget ever sold.
How to Practice Stitch Control on Straight Lines
Once paper feels easy, move to scrap fabric and a threaded machine. Draw straight lines on light-colored cotton with a ruler and a washable marker, and sew along them at a steady, moderate speed. The key word is steady: beginners almost always speed up on the easy parts and slow down when they get nervous, and that speed change is exactly what makes lines wavy. Pick a comfortable pace and hold it.
The painter’s tape trick is my favorite cheat for seam allowance practice. Stick a strip of painter’s tape on your machine bed parallel to the needle, at the distance of your seam allowance, and guide the edge of your fabric along the tape instead of staring at the needle. It works like bowling bumpers, and it trains your hands to keep a consistent distance. Practice sewing at a half-inch and a five-eighths-inch seam allowance until holding the line feels automatic. When you are ready to understand the machine side of the equation, read my guide to adjusting stitch length and width, because the right settings make control dramatically easier.
Practice Curves and Circles Slowly
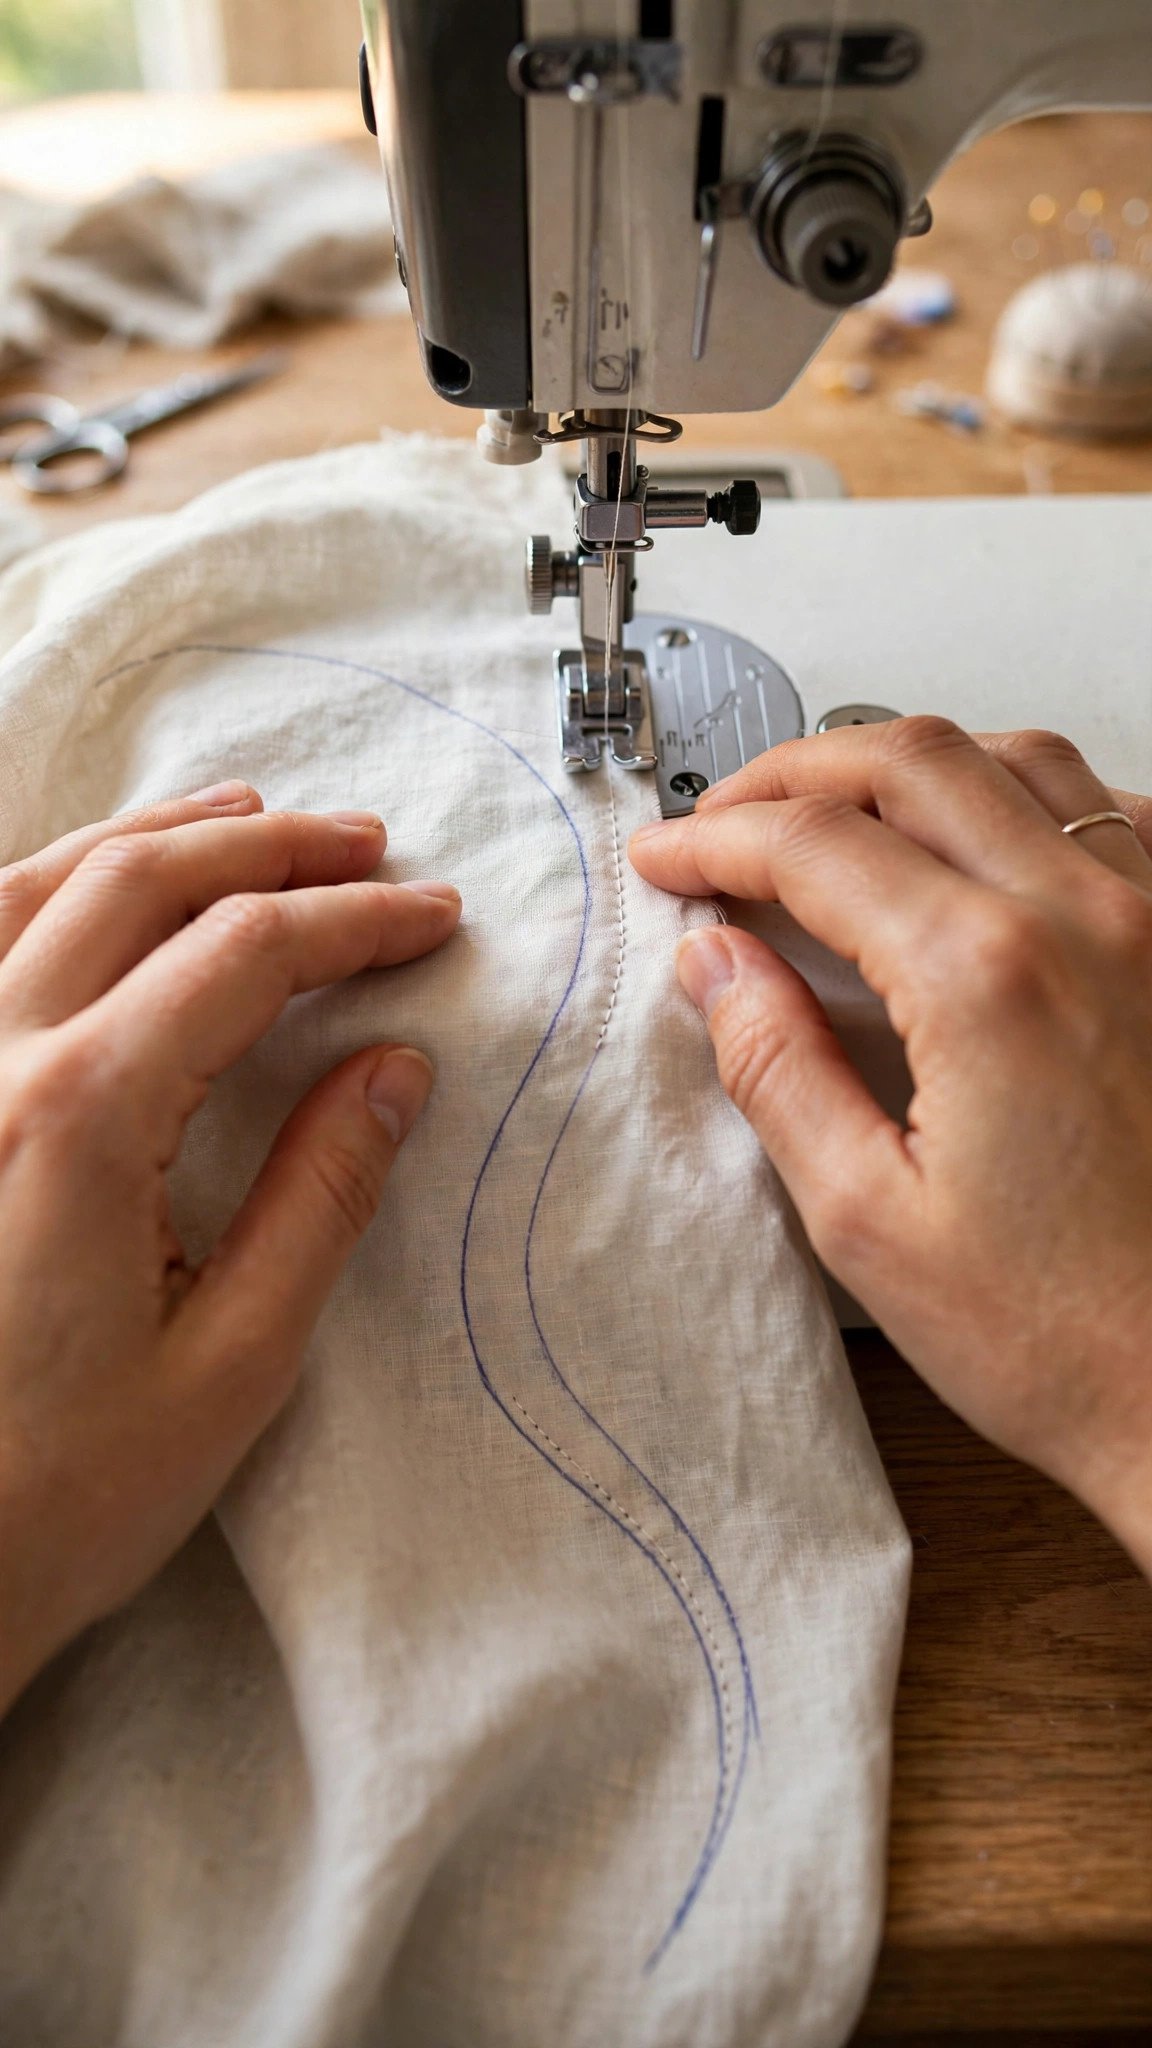
Curves are where beginners meet their first real challenge, because the fabric needs to turn while the needle stays put. Draw large, gentle curves on your scrap fabric first, then graduate to tighter circles. The rule for curves is simple: slow down. Sewing a curve at full speed is like taking a corner in a car at full speed, and the result looks about the same.
Guide the fabric with both hands, one in front of the presser foot and one behind, and let the feed dogs do the actual moving. Your job is steering, not pushing. Never pull or drag the fabric from behind the needle, because that bends the needle and stretches the stitches. For circles, stop every quarter turn to check your line and adjust your hand position. Circles will be lopsided for a while, and that is completely normal. Smooth, confident curves are a milestone worth celebrating when they arrive.
Master Corners with the Needle-Down Pivot
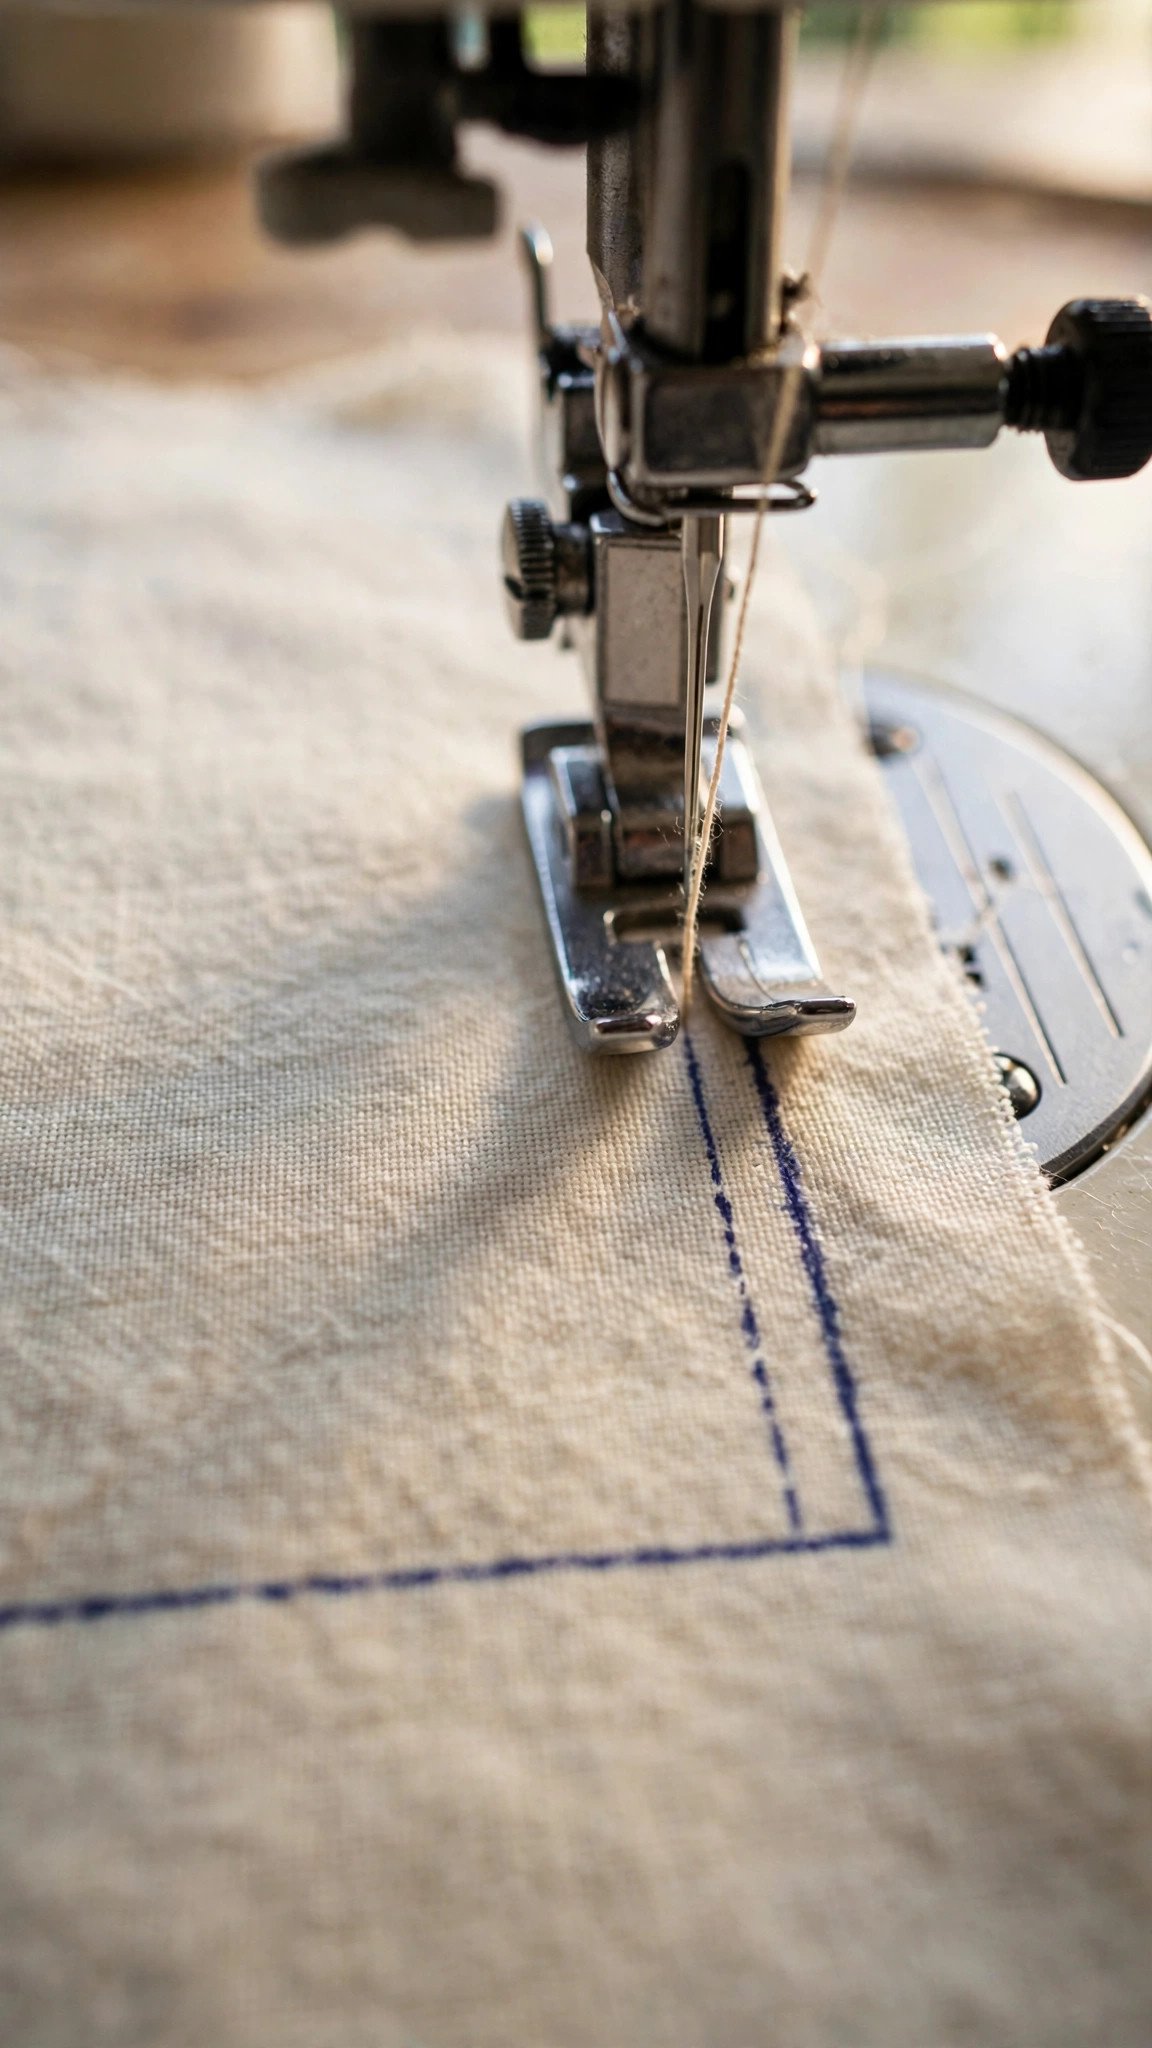
Sharp corners look impressive, but the technique is wonderfully simple. Sew along your line until you reach the exact corner point, then stop with the needle down in the fabric. Raise the presser foot, pivot the fabric so the next line sits straight ahead of the needle, lower the presser foot, and sew on. The needle-down rule is non-negotiable: if the needle is up when you pivot, the fabric shifts and your corner lands off the mark.
Draw a series of squares and rectangles on paper or fabric and sew them as one continuous exercise, pivoting at every corner. Then try ever-decreasing squares, sewing one clockwise and the next counterclockwise, which forces you to pivot in both directions. Corners are also where backstitching matters: secure your thread at the start and end of every practice line so the habit is automatic when you sew real seams. Clean corners are one of the clearest signs of a sewist who has put in the practice.
Build a 10-Minute Daily Practice Routine
Consistency beats marathon sessions every time. Ten focused minutes a day will take you further than a frustrated two-hour session once a month. Here is the routine I recommend: two minutes of straight lines on paper, two minutes of zigzag stitch practice at different widths, two minutes of curves, two minutes of corner pivots, and two minutes stitching two layers of scrap fabric together along a drawn seam allowance. That last drill teaches you how real projects feel, with layers feeding under the foot together.
Date your practice scraps or keep them in a pile so you can see your progress week to week. The improvement is usually dramatic in the first month, which is incredibly motivating. And when straight lines, curves, and corners all feel comfortable, you are ready to graduate. My roundup of easy sewing projects for beginners is the perfect next step, because every project on that list rewards the control you just built.
FAQ
How long does it take to get good stitch control?
Most beginners see a real difference within two to three weeks of daily ten-minute practice. Curves and tight corners take longer, usually a month or two, but steady progress is the norm, not the exception.
Should I practice on paper or fabric?
Start on paper with no thread to build muscle memory cheaply and safely. Move to scrap fabric once lines feel comfortable, because fabric feeds differently than paper and real projects are always fabric.
Why are my stitches wavy even when I sew slowly?
The most common causes are pulling the fabric from behind the needle, a dull needle dragging, or changing speed mid-line. Let the feed dogs move the fabric, replace the needle, and hold one steady pace.
Do I need special tools to practice stitch control?
No. Paper, a ruler, scrap fabric, and a strip of painter’s tape are all you need. A seam guide attachment can help later, but it is optional, not essential.

Written by June Carter
I am June, a sewing enthusiast who loves turning simple fabric into things people actually use. I test every technique and product I write about at my own machine before it lands here.