
In the store I wear a size 10. On a sewing pattern envelope, I am a size 16. The first time I discovered that, I stood in the fabric aisle doing quiet math and feeling personally attacked. Then I learned the truth that every garment sewist eventually learns: pattern sizes and store sizes have nothing to do with each other, and the number on the envelope is the least useful piece of information in the whole packet.
What actually matters is the comparison between two sets of numbers: your body measurements and the garment’s finished measurements. Your body measurements describe you. The garment measurements describe the finished piece of clothing, including the extra room built into the design. Learn to compare the two, and you will pick the right size on purpose instead of by luck. Here is how I do it, step by step.

Body measurements vs garment measurements: the difference
Body measurements are exactly what they sound like: the circumference of your actual bust, waist, and hips, plus lengths like back waist length and inseam. They describe your body with no clothing involved. Garment measurements, also called finished measurements, describe the sewn garment: the circumference of the finished bodice at the bust, the finished waistband, the finished hip of the skirt. They include everything the designer added beyond your body, which is called ease.
The single most important rule of pattern sizing is this: never compare your body measurements directly to the finished garment measurements and panic. Of course the finished bust measurement is bigger than your bust. It is supposed to be. The gap between the two numbers is ease, and ease is what lets you breathe, sit, and raise your arms. Comparing body to finished measurements tells you how much ease the design includes. Comparing body to body tells you which size to cut.
How to take accurate body measurements
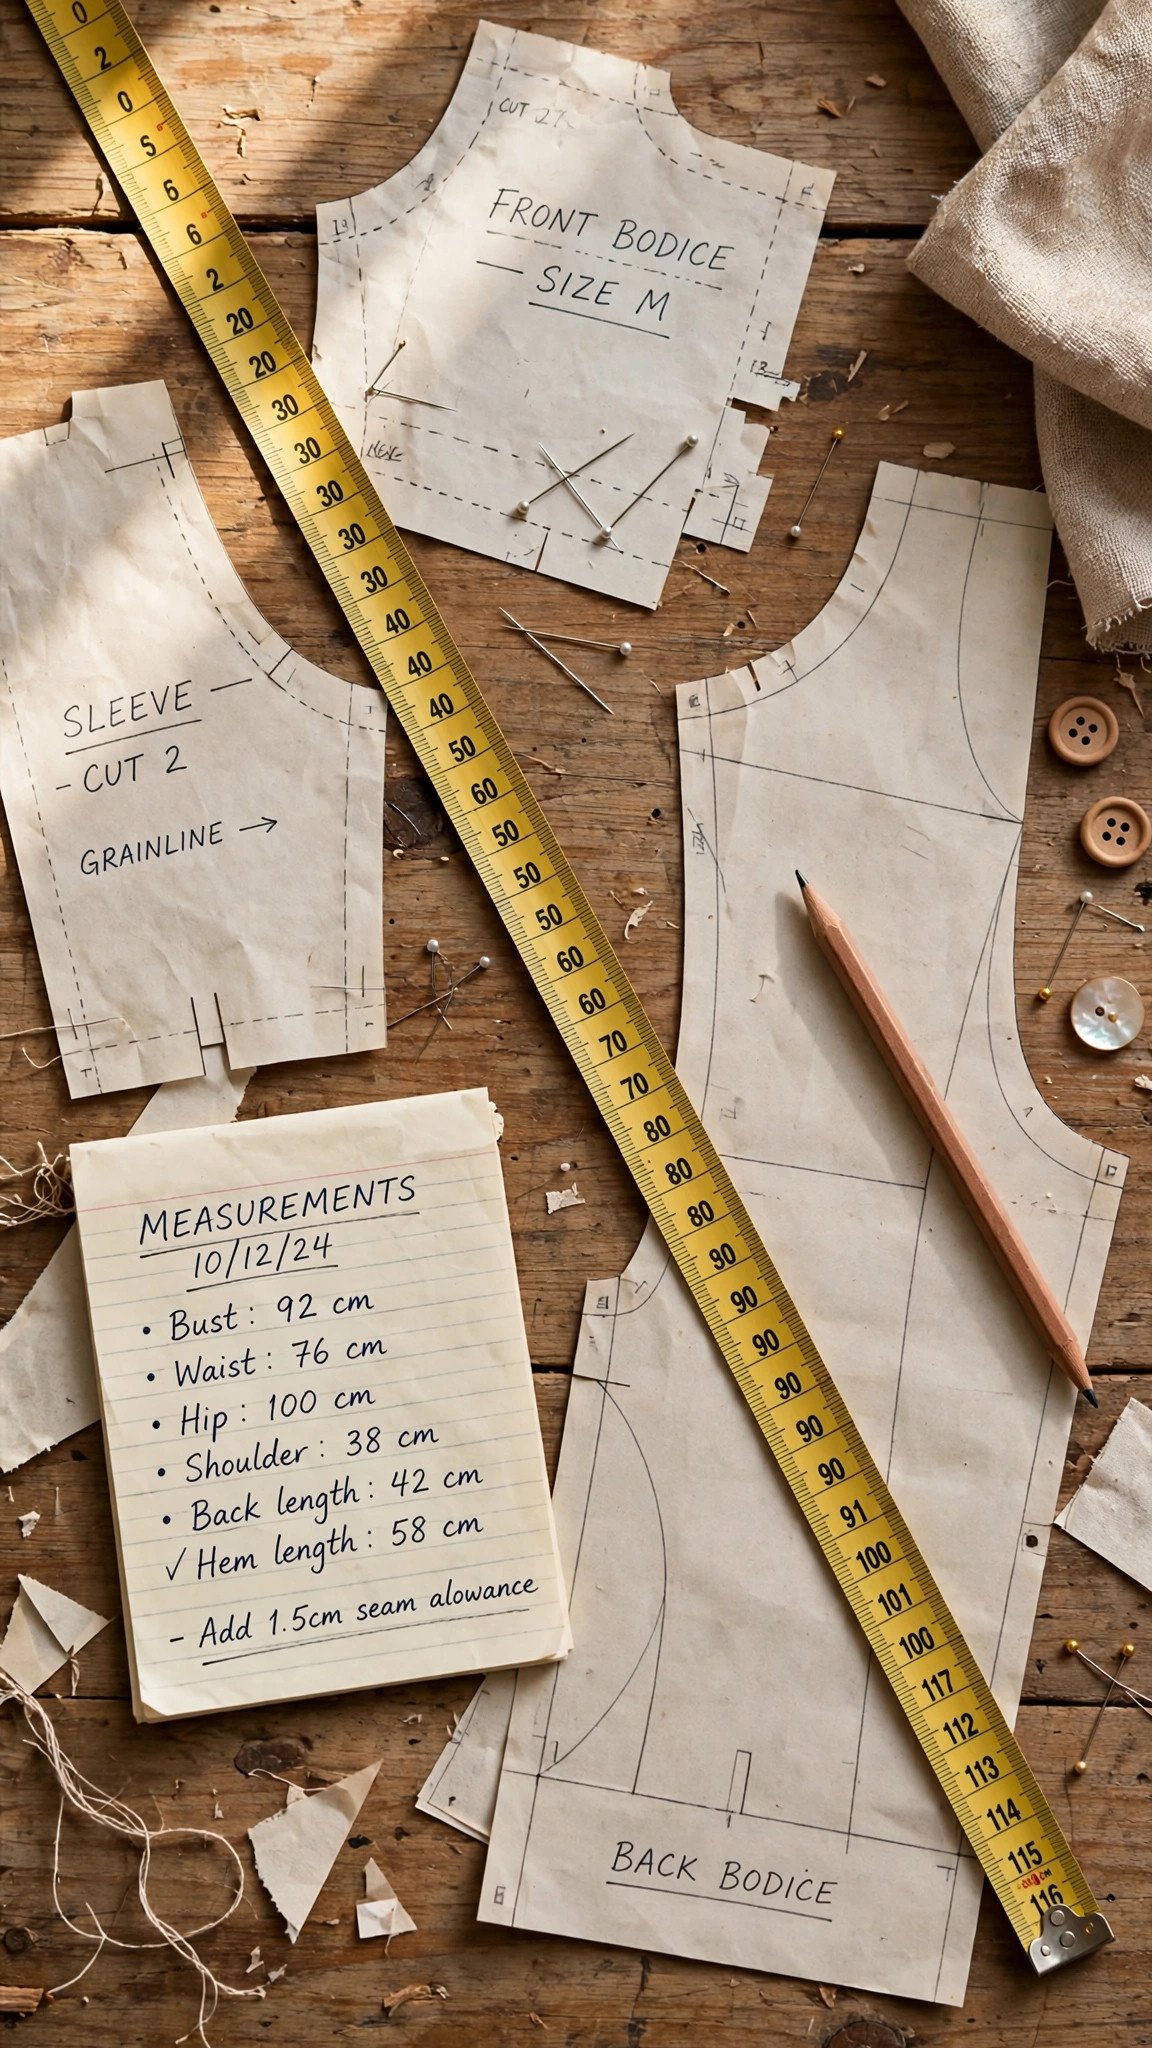
Everything downstream depends on these numbers, so take them seriously. Measure in the undergarments you will wear with the garment, stand relaxed, and breathe normally. The tape should be snug against the body without squeezing, and it must stay level all the way around, which is harder than it sounds on your own back. A friend helps enormously. A dress form set to your measurements helps even more.
Take these at minimum. Bust: around the fullest part of the chest, tape level across the back. Waist: around your natural waist, the crease where you bend sideways, not where your jeans sit. Hips: around the fullest part of the seat, usually about eight inches below the waist. For fitted bodices, also take the high bust, snug around the chest just under the arms, because it predicts your frame size better than the full bust when the two differ a lot. Write every number down immediately. Nobody remembers their hip measurement five minutes later, and guessing reintroduces exactly the error you are trying to eliminate.
Two habits that changed my fitting life: remeasure every few months, because bodies change and patterns do not, and measure twice on different days before cutting into expensive fabric. If the numbers disagree, take a third set and use the middle value. Precision here is cheaper than a muslin, and a muslin is cheaper than a ruined garment.

How to find and read garment measurements on a pattern
Finished garment measurements hide in different places depending on the pattern. On American commercial tissue patterns, they are printed right on the pattern pieces or listed on the envelope back. On PDF patterns, look for a finished measurements chart in the first pages, usually near the size chart. Indie designers vary: some print finished measurements on every piece, some give them in a table, and a few make you work for it.
If your pattern does not list them, you can measure the flat pattern yourself. Measure across the pattern piece at the bust, waist, or hip line, subtract the seam allowances on both sides, since those get consumed in sewing, and double the result if the piece represents half the body. If you are unsure whether the pieces even include seam allowance, check first, because measuring a piece that has no allowance built in will give you a misleading number. My tutorial on checking seam allowance inclusion walks through that verification.
What you are looking for is a simple table in your head: for each size, the finished bust, waist, and hip. Those three numbers are the entire sizing decision for most garments.
Understanding ease: the secret ingredient
Ease is the difference between the garment measurement and your body measurement, and it comes in two kinds. Wearing ease is the minimum room a garment needs to function: to close, to let you sit, to let you breathe. A woven bodice typically needs at least two to four inches of wearing ease at the bust. Design ease is everything beyond that, the extra volume that makes a garment oversized, relaxed, or fitted by design. A boxy shirt and a tailored blouse can share your body measurements and have wildly different finished measurements, because their design ease differs.
Knits play by different rules. Stretch fabrics often use zero or even negative ease, meaning the finished garment measures smaller than your body and stretches to fit. That is normal and intentional. Never add wearing ease to a pattern drafted for knits, or you will swim in it. The pattern’s finished measurements already account for the stretch, which is why comparing them to your body tells you exactly how the designer intended it to fit.
Here is the practical move: subtract your body measurement from the finished garment measurement for your candidate size. The result is the total ease. Then ask whether that amount of ease matches how you want the garment to fit. Want a relaxed shirt? Look for generous ease. Want a close-fitting bodice? Look for minimal ease. The numbers make the design intent visible before you cut a single piece.
How to compare the numbers and pick your size
Now the actual decision, in order. First, take your fresh body measurements. Second, find the pattern’s size chart, which maps body measurements to sizes, and the finished measurements, which show what each size becomes. Third, circle the size whose body measurements are closest to yours. Fourth, check the finished measurements for that size and compute the ease. Fifth, ask whether that ease suits the garment and your taste.
Almost nobody matches one size at all three points. If your bust says size 14, your waist says size 16, and your hips say size 14, blend between sizes: trace the 14 at the bust and hip, grading out to the 16 at the waist. Blending sizes is not advanced fitting. It is normal fitting, and it is how most bodies actually get clothes that fit. Choose the size by your most important measurement for the garment: bust for tops, waist for high-waisted bottoms, hips for fitted skirts, then blend the rest.
When you are between sizes on a woven garment, I usually size up. It is far easier to take in a seam than to let one out, and a slightly roomy muslin can be fitted down to perfect. On knits, I size down when between, because stretch forgives a close cut and punishes a loose one. And for your first version of any pattern, sew a muslin in inexpensive fabric to test the fit before the good fabric is at risk. My guide to choosing fabric for beginner projects explains why muslin is the right test fabric.
Frequently asked questions
Why are pattern sizes so much bigger than store sizes?
They use different numbering systems with no relationship to each other. Pattern sizing is based on body measurement ranges that have stayed fairly stable for decades, while ready-to-wear vanity sizing has drifted downward. Ignore both numbers and sew from your measurements.
Should I go by the size chart or the finished measurements?
Use both. The size chart picks your starting size from your body. The finished measurements tell you how that size will actually fit, including ease. The size chart gets you in the neighborhood. The finished measurements get you to the right house.
How much ease should a blouse have?
For a woven blouse, look for roughly three to five inches of total ease at the bust for a comfortable classic fit, less for a close fit, more for relaxed styles. Check what the pattern’s finished measurements give you rather than guessing.
What if my measurements fall between sizes?
Blend between them, choosing the size that fits your most critical area and grading to the neighboring size elsewhere. Between sizes on wovens, lean larger. Between sizes on knits, lean smaller.
Do I need to remeasure if I have lost or gained weight?
Yes, and do it without drama. Bodies change, and sewing your actual current measurements is the whole advantage of making your own clothes. Remeasure every few months or whenever fit starts feeling off.
Measure twice, cut the right size
The number on the envelope is a suggestion. Your tape measure is the truth. Take honest body measurements, read the finished garment measurements, compute the ease, and pick the size the numbers point to, blending where your body asks for it. Do that, and the fitting disasters get rarer, the muslins get closer, and the clothes start fitting like they were made for you. Because they were.

Written by June Carter
I am June, a sewing enthusiast who loves turning simple fabric into things people actually use. I test every technique and product I write about at my own machine before it lands here.