

If you want to learn how to sew a zipper pouch, start here, because this is the project that turns nervous beginners into confident sewists. A zipper pouch is small, quick, and genuinely useful, and it teaches you the two skills that unlock a whole world of bag making: installing a zipper and sewing a lining. My first pouch was wonky, the zipper rippled, and one corner stuck out at a strange angle. I still used it every day for a year, and by the third one I was making them as gifts.
The method below is the simple rectangle version, no pattern needed, no curved seams, and no hardware beyond a zipper. You cut four rectangles, sew the zipper between the outer fabric and the lining, stitch around the edges, and turn the whole thing right side out through a gap in the lining. It takes about an hour once you have done it once, and the result looks far more impressive than the effort suggests. If you have never sewn a zipper before, this is the kindest possible introduction.
You can make a pouch in any size, from a tiny coin purse to a roomy makeup bag, and the method stays exactly the same. Pick a fabric you love, because a pouch you love is a pouch you will actually use, and do not be afraid of the zipper. I will show you the zipper tabs trick that keeps the ends neat and the zipper foot tips that keep your stitching close and even.
What You Need and How to Size It
For one pouch you need outer fabric, lining fabric, a zipper, thread, and a zipper foot for your machine. A standard metal or nylon zipper works well, and a zipper at least one inch longer than your pouch width is easiest, because the extra length gives you room to work and the tabs tidy the ends. Cut two rectangles of outer fabric and two of lining, all the same size. A good starter size is ten inches wide by seven inches tall, which makes a roomy pouch for pencils, cosmetics, or sewing notions.
Fabric choice matters more than you might think. Medium weight cotton, quilting cotton, and canvas all work beautifully. Very thin fabric will need interfacing to hold its shape, and very thick fabric will fight you at the corners. I like to fuse a light interfacing to the outer pieces, which gives the pouch a little body without making it stiff. If you are choosing between zipper lengths, my guide to how to choose zipper length walks through the measuring step in detail.
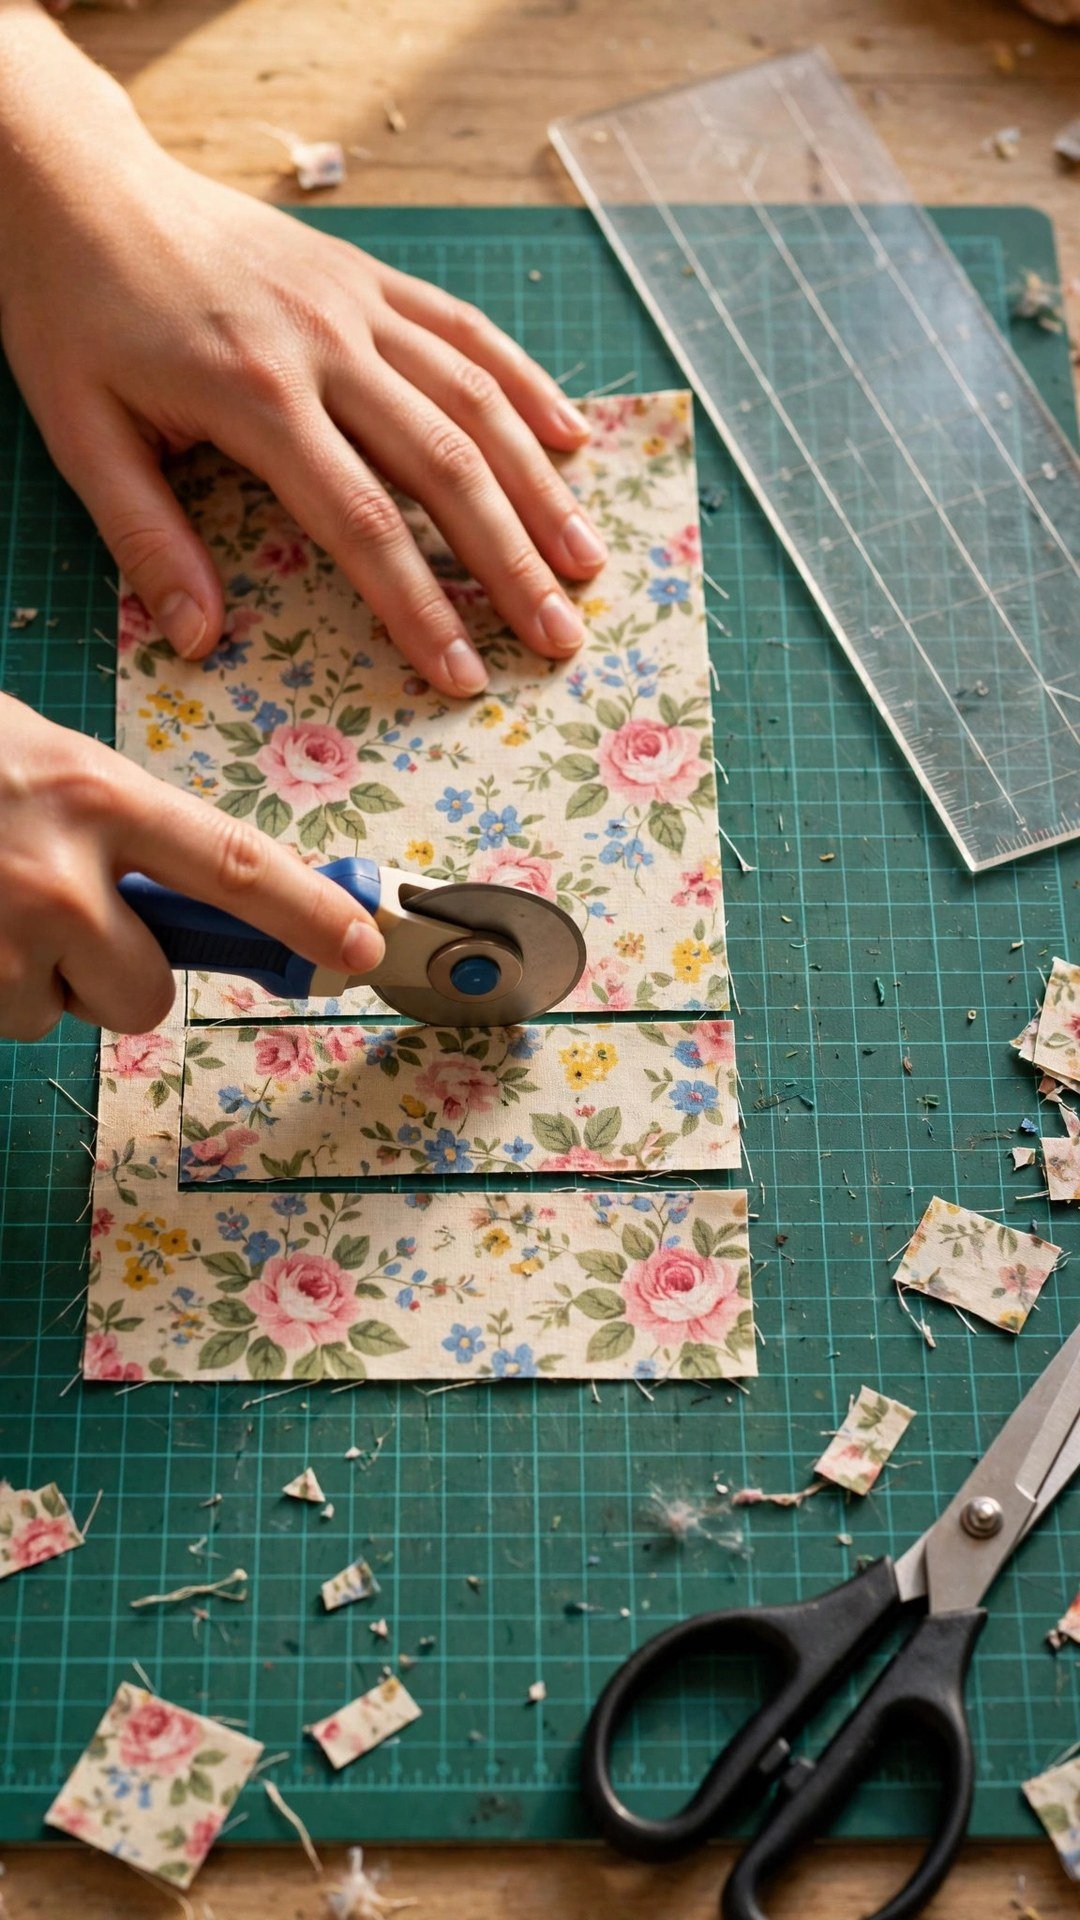
How to Sew a Zipper Pouch Step by Step
Start with the zipper tabs. Cut two small rectangles of outer fabric, about one and a half inches wide by two inches long, fold each one in half with wrong sides together, and press. Then fold the raw edges of each tab over the two ends of the zipper tape and stitch across, enclosing the metal stops. These tabs cover the raw zipper ends, stop the pull from running off, and give the finished pouch a neat, professional edge. Trim the tabs level with the zipper tape so they sit flat.
Now lay one outer rectangle right side up. Place the zipper face down along the top edge, with the zipper teeth pointing toward the center of the fabric and the pull on the left. Lay one lining rectangle face down on top, so the zipper is sandwiched between the outer and the lining with the top edges aligned. Pin or clip along the top edge, then sew with your zipper foot, stitching close to the teeth but not so close that the foot rides up on them. This is the moment to slow down and keep the layers flat.
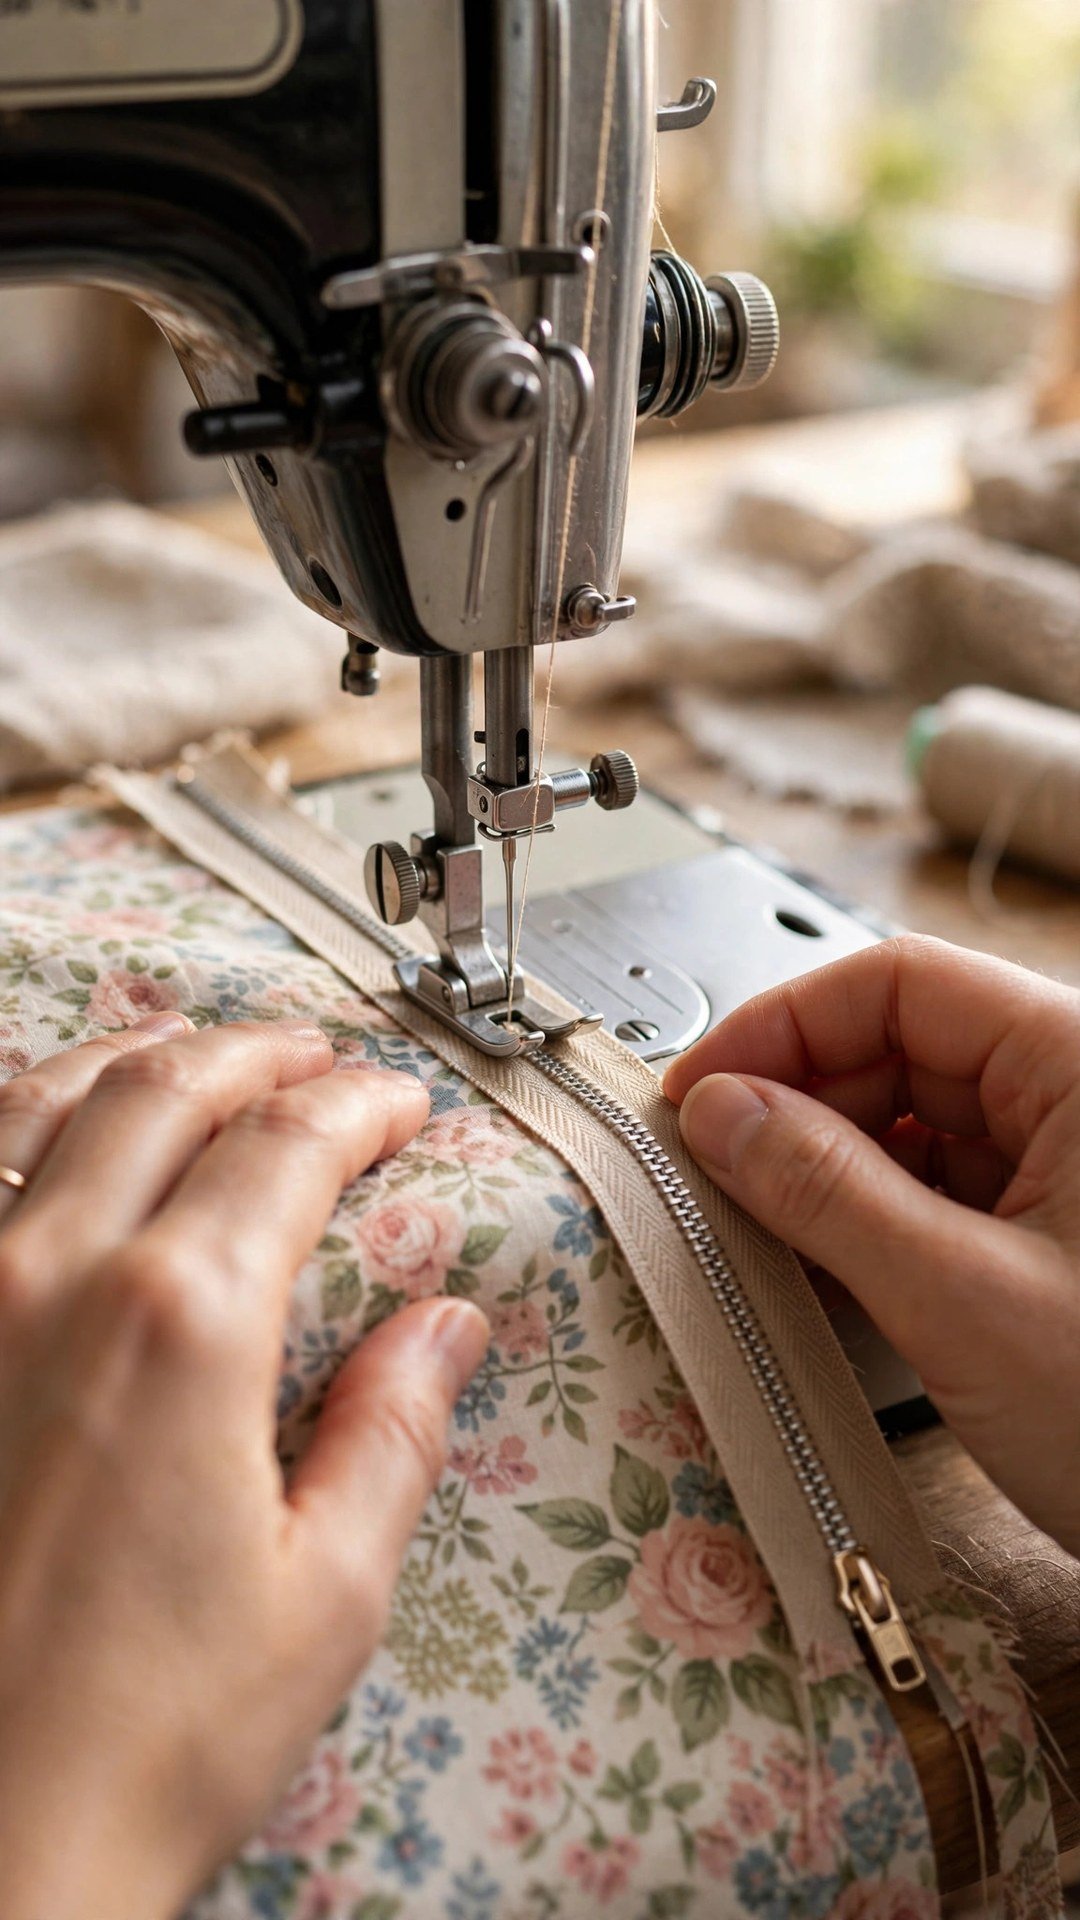
Sewing the Sides, the Lining Gap, and the Corners
Here is the step where beginners hold their breath, and it is simpler than it looks. Open the zipper halfway. This is essential, because you need the opening to turn the pouch right side out later, and a closed zipper traps you. Now bring the two outer pieces together, right sides together, and bring the two lining pieces together, right sides together, so the pouch lies flat with the zipper across the top and the outer and lining seams meeting at the sides. Pin all the way around the outer edge, matching the side seams at the zipper so the zipper sits neatly at the top corners.
Sew around the whole shape with a half inch seam allowance, but leave a three inch gap in the bottom of the lining. That gap is your turning hole, so mark it clearly with pins and do not sew across it by accident. Backstitch at the start and end of the gap so the lining does not unravel when you pull the pouch through. Trim the outer corners diagonally to reduce bulk, and if you want a flat bottom, box the corners now. To box the corners, pinch each bottom corner flat so the side seam meets the bottom seam, measure one inch across, draw a line, and sew across it. My guide to how to box bag corners has photos of this step if you want a visual check.
Reach through the gap in the lining and pull the whole pouch right side out, gently pushing the corners out with a chopstick or a point turner. Do not poke hard enough to push through the fabric. Tuck the raw edges of the lining gap inside, press them flat, and stitch the gap closed close to the edge. Push the lining down inside the pouch, press the whole pouch, and give the top edge a line of topstitching close to the zipper. That topstitching holds the lining back from the zipper teeth and gives the finished pouch a crisp, store bought look.
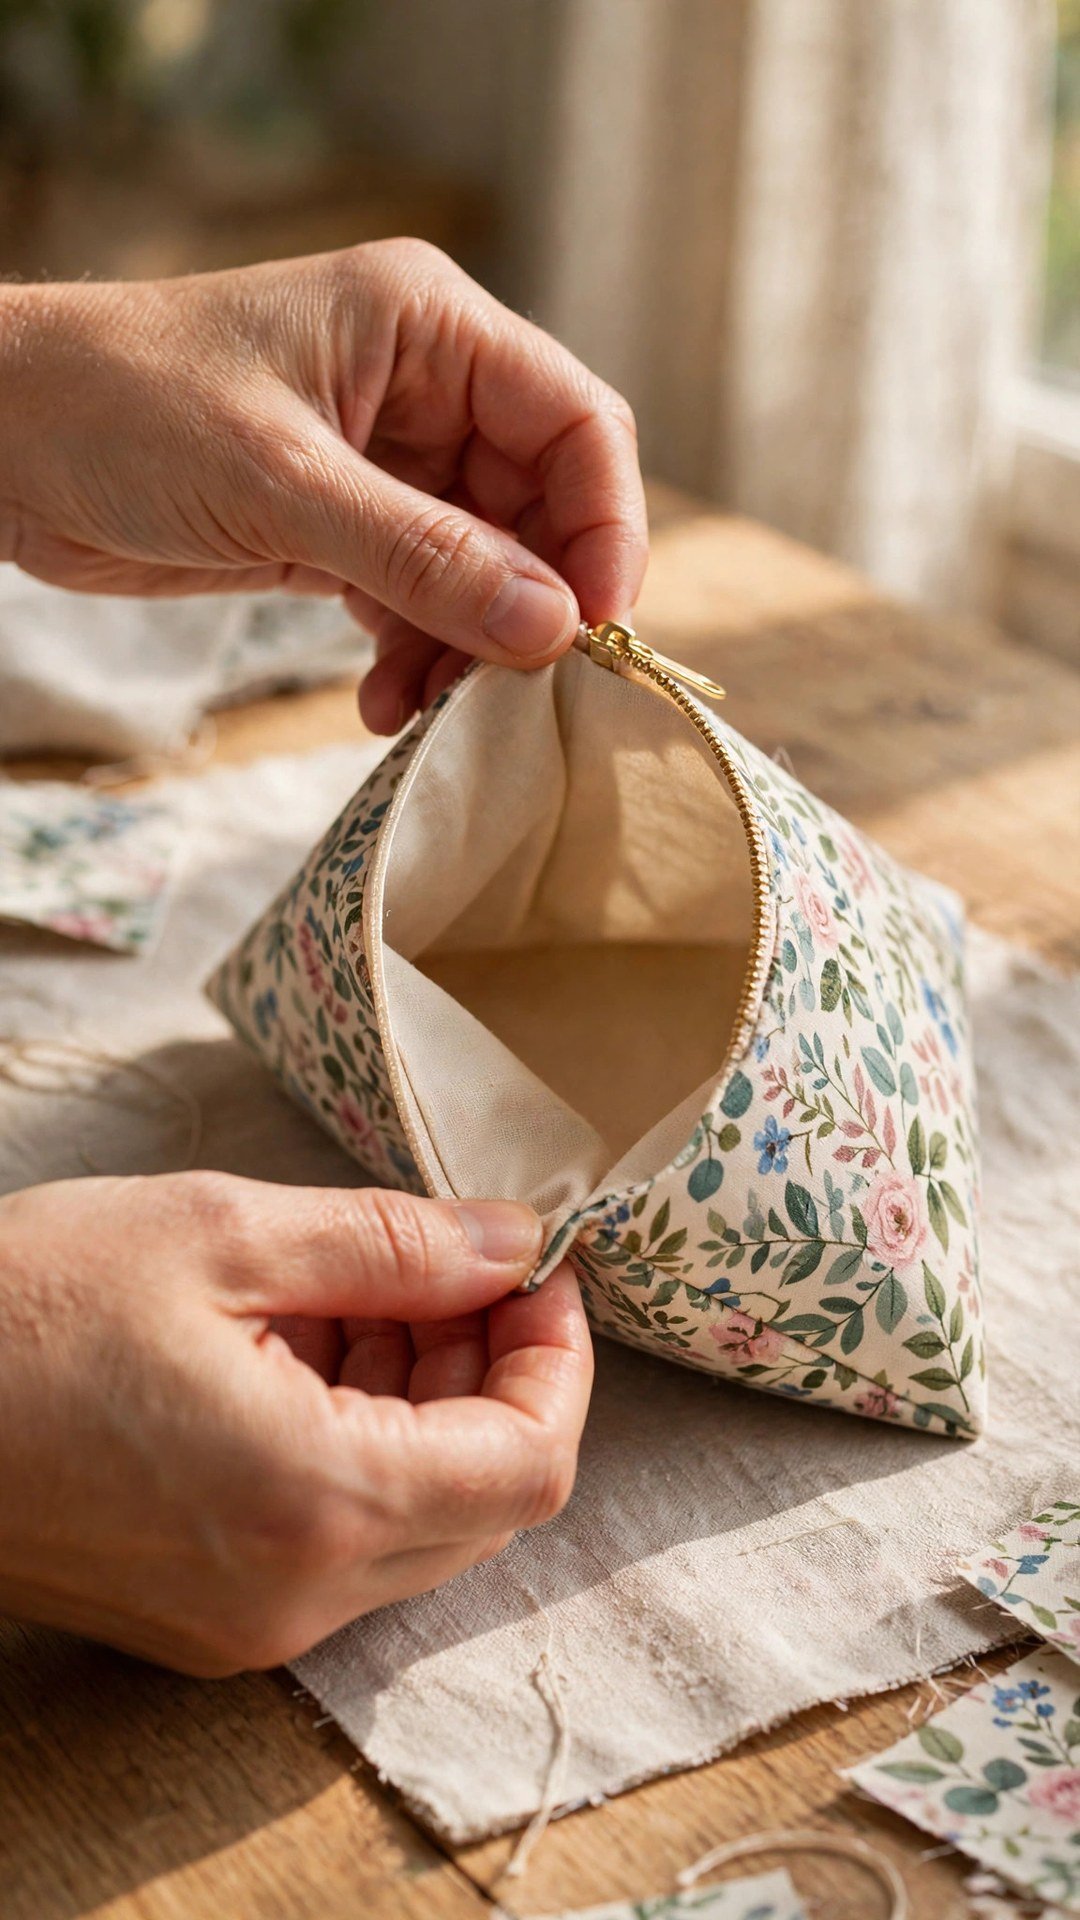
Tips for a Neat, Professional Finish
The difference between a good pouch and a great one is in the finishing. Topstitching along the zipper is the single most effective step, and it is worth slowing down for. Use a slightly longer stitch length than usual, keep the edge of the fabric lined up with the edge of your zipper foot, and stitch slowly. If your machine has a topstitching needle, use one. It makes a visible difference on the finished seam.
Watch your zipper pull placement too. When you sew the sides, the pull must sit inside the pouch, between the zipper teeth and the lining, not caught in the side seam. That is why opening the zipper halfway matters, and why you should feel for the pull with your fingers before you sew over that spot. If the pull is trapped in the seam, unpick that section and move it. It happens to everyone, and it is a five minute fix.
Frequently Asked Questions
What size zipper do I need for a zipper pouch?
Choose a zipper at least one inch longer than the width of your pouch, so the ends extend past the fabric and can be finished with tabs. You can trim a longer zipper down, but a zipper that is too short will leave a gap at the ends.
Do I need a zipper foot to sew a zipper pouch?
A zipper foot makes the job much easier because it lets you stitch close to the teeth without the foot riding over them. Most machines come with one, and it is worth fitting it before you start. A standard foot can work in a pinch, but the stitching will sit further from the teeth.
Why is my zipper wavy after sewing?
Wavy zippers usually come from stretching the fabric while you sew, or from stitching too close to the teeth so the fabric puckers. Use a walking foot or a zipper foot, keep the layers flat without pulling, and press the seam after each step.
How do I stop the lining getting caught in the zipper?
Topstitch along both sides of the zipper after pressing, which holds the lining back from the teeth. Pressing the lining away from the zipper before topstitching, and using a slightly stiffer lining, also helps a lot.
Can I sew a zipper pouch without interfacing?
Yes, especially in canvas or a firm cotton. Interfacing just gives a softer fabric more body so the pouch holds its shape when it is empty. If you skip it, choose a fabric with some weight to it.
Make One, Then Make a Dozen
A zipper pouch is the perfect first zipper project because it forgives small mistakes and rewards you with something useful in about an hour. Cut your rectangles, add the tabs, sew the zipper between the outer and the lining, leave a gap, and turn it through. Once you have made one, the second will feel easy, and the third will feel like a habit. That is how bag making starts.

Written by June Carter
I am June, a sewing enthusiast who loves turning simple fabric into things people actually use. I test every technique and product I write about at my own machine before it lands here.