
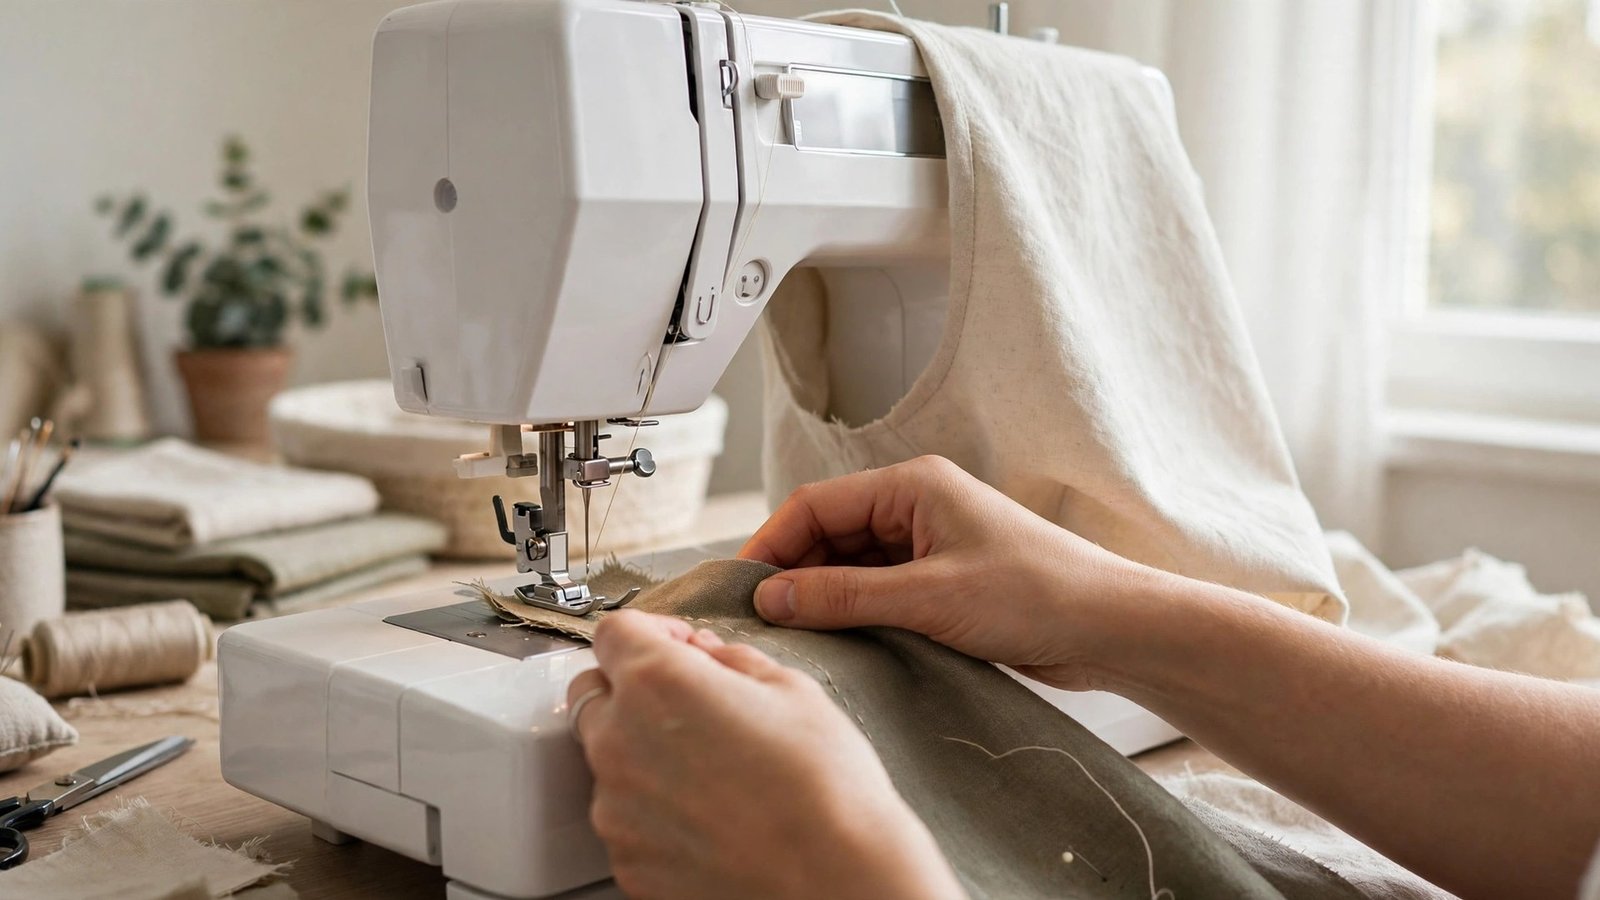
If you are wondering how to use the free arm on a sewing machine, the answer is simpler than it looks. The free arm is the narrow part of your machine that appears when you slide off the flat bed or accessory box. It lets you slip a tube of fabric around it, like a sleeve or a trouser leg, so you can sew in a circle without the rest of the garment getting in the way.
I ignored my free arm for my first year of sewing, and I sewed sleeves the awkward way, bunching fabric under the needle and hoping for the best. Once I tried it properly, I wondered why I had waited so long. In this guide I will show you how to find the free arm, what it is good for, and how to sew sleeves, cuffs, and hems on it without puckers or skipped stitches.
How to Use the Free Arm on a Sewing Machine Step by Step
First, find the free arm on your machine. On most machines, the flat bed to the left of the needle slides off to the left, or the accessory box lifts away, leaving a narrow arm. Check your manual if it feels stuck, because some machines have a small latch. Once the arm is exposed, you will see the needle, the presser foot, and the feed dogs in the same place, just with open space around them.
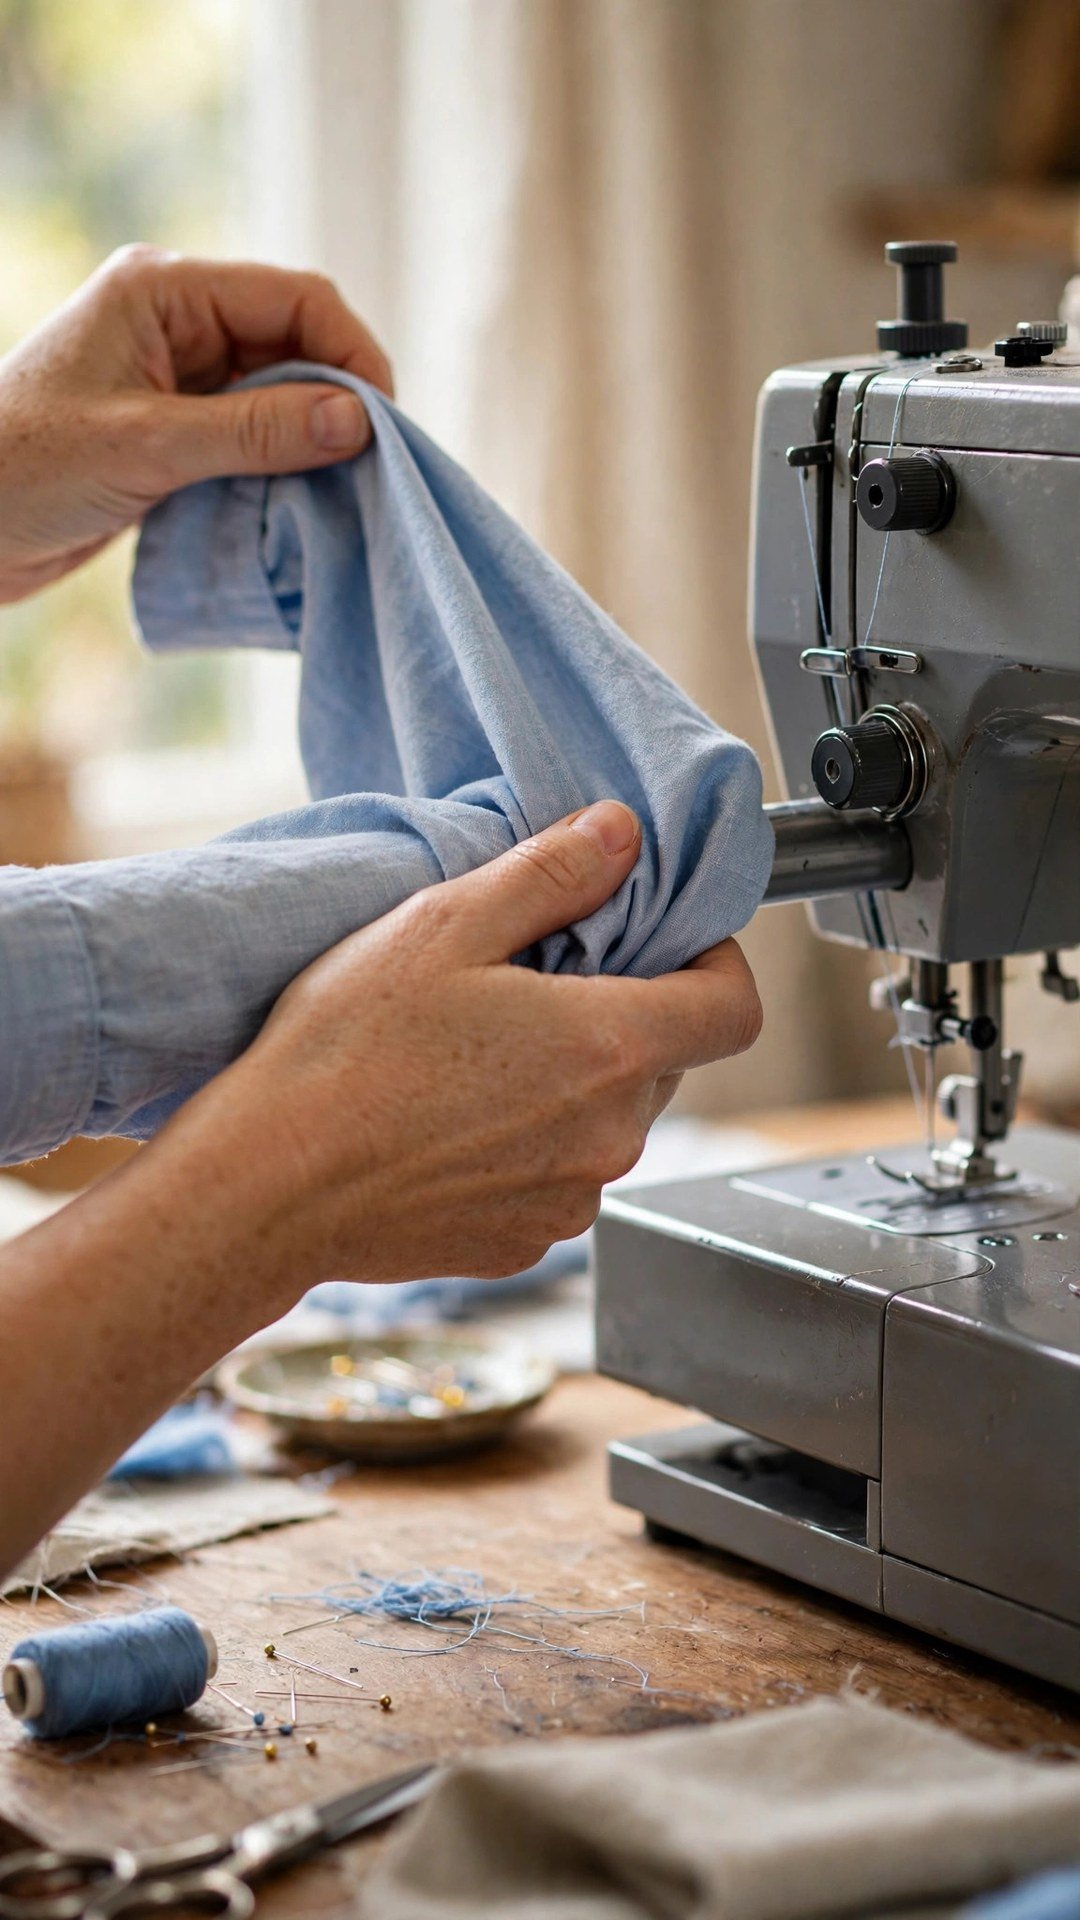
To use it, turn your sleeve or trouser leg inside out and slide the tube over the free arm, with the seam you want to sew on top, under the presser foot. The rest of the fabric hangs down around the arm instead of bunching under the needle. Sew slowly, guiding the fabric with both hands, and let the feed dogs move it. Stop with the needle down if you need to turn the tube a little, then keep going until you meet your starting point.
What the Free Arm Is Best For
The free arm shines on anything tube shaped. Sleeve hems, trouser hems, cuffs, baby clothes, and small bags are all easier on the arm than on a flat bed. It is also useful for topstitching a cuff or a sleeve placket, because you can rotate the tube smoothly and keep the stitching even all the way around. If you have ever tried to hem a narrow sleeve on a flat bed, you know the struggle of fabric folding back on itself.
It is less useful for flat, wide pieces such as quilt blocks or table runners, where the flat bed gives better support. Think of the free arm as a specialist tool, not a replacement for the flat bed. I slide the accessory box back on for flat sewing, and I take it off whenever a tube comes to the machine. That habit alone has made my hems neater and my sewing calmer.
Setting Up Your Machine for Free Arm Sewing
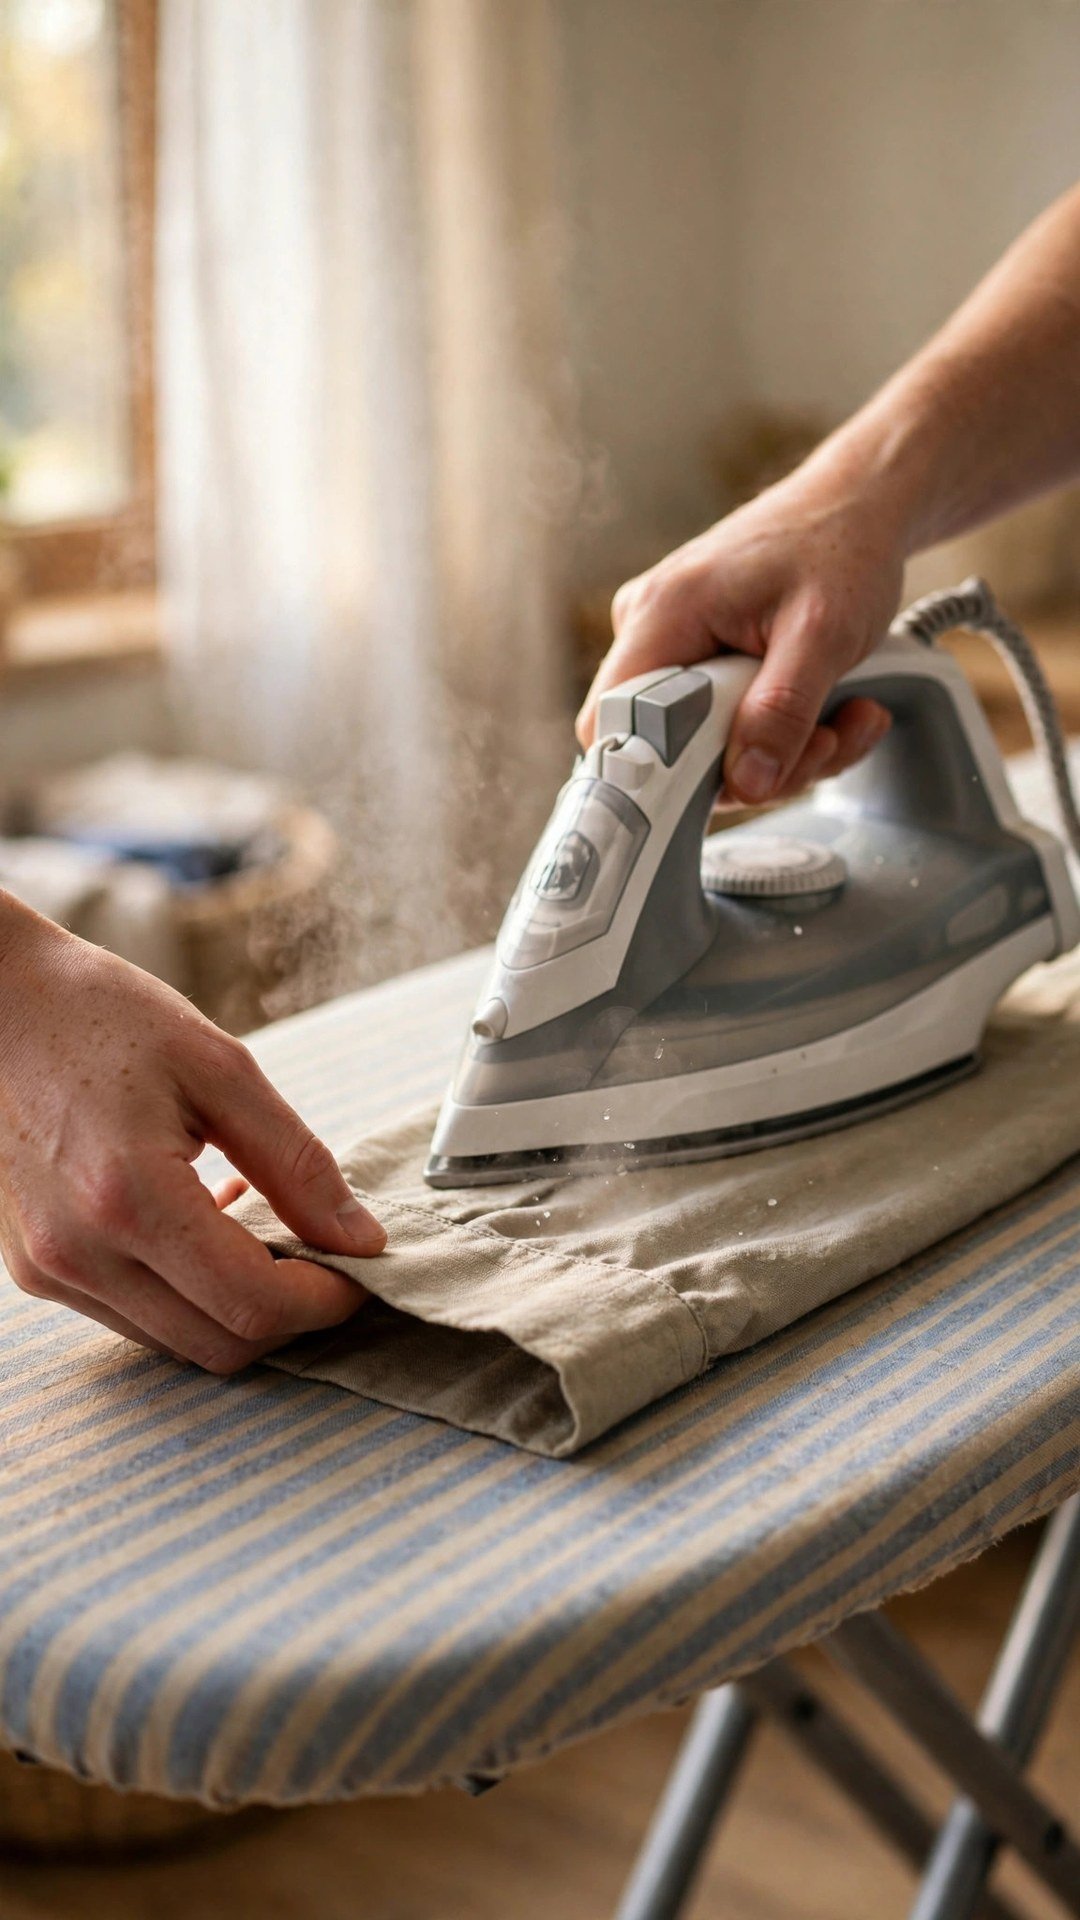
Before you sew on the free arm, wind a bobbin and check your thread, because stopping mid circle to fix a thread nest is annoying. Use the same needle and thread you would use on the flat bed for that fabric, and set a normal straight stitch length for hemming, usually a little longer than for a seam. Press the hem first, so the fold stays in place as you rotate the tube around the arm.
Place a few pins or clips at right angles to the seam, and remove them as you approach the needle. If the tube is very narrow, such as a baby sleeve, go slowly and use your fingers to keep the fabric flat under the foot. A walking foot can help on slippery fabrics, and my guide to how to use a walking foot explains when that foot earns its keep. If your stitches skip, check that the needle is fresh and the machine is threaded correctly, as I explain in how to thread a sewing machine.
Sewing Sleeve and Trouser Hems on the Free Arm
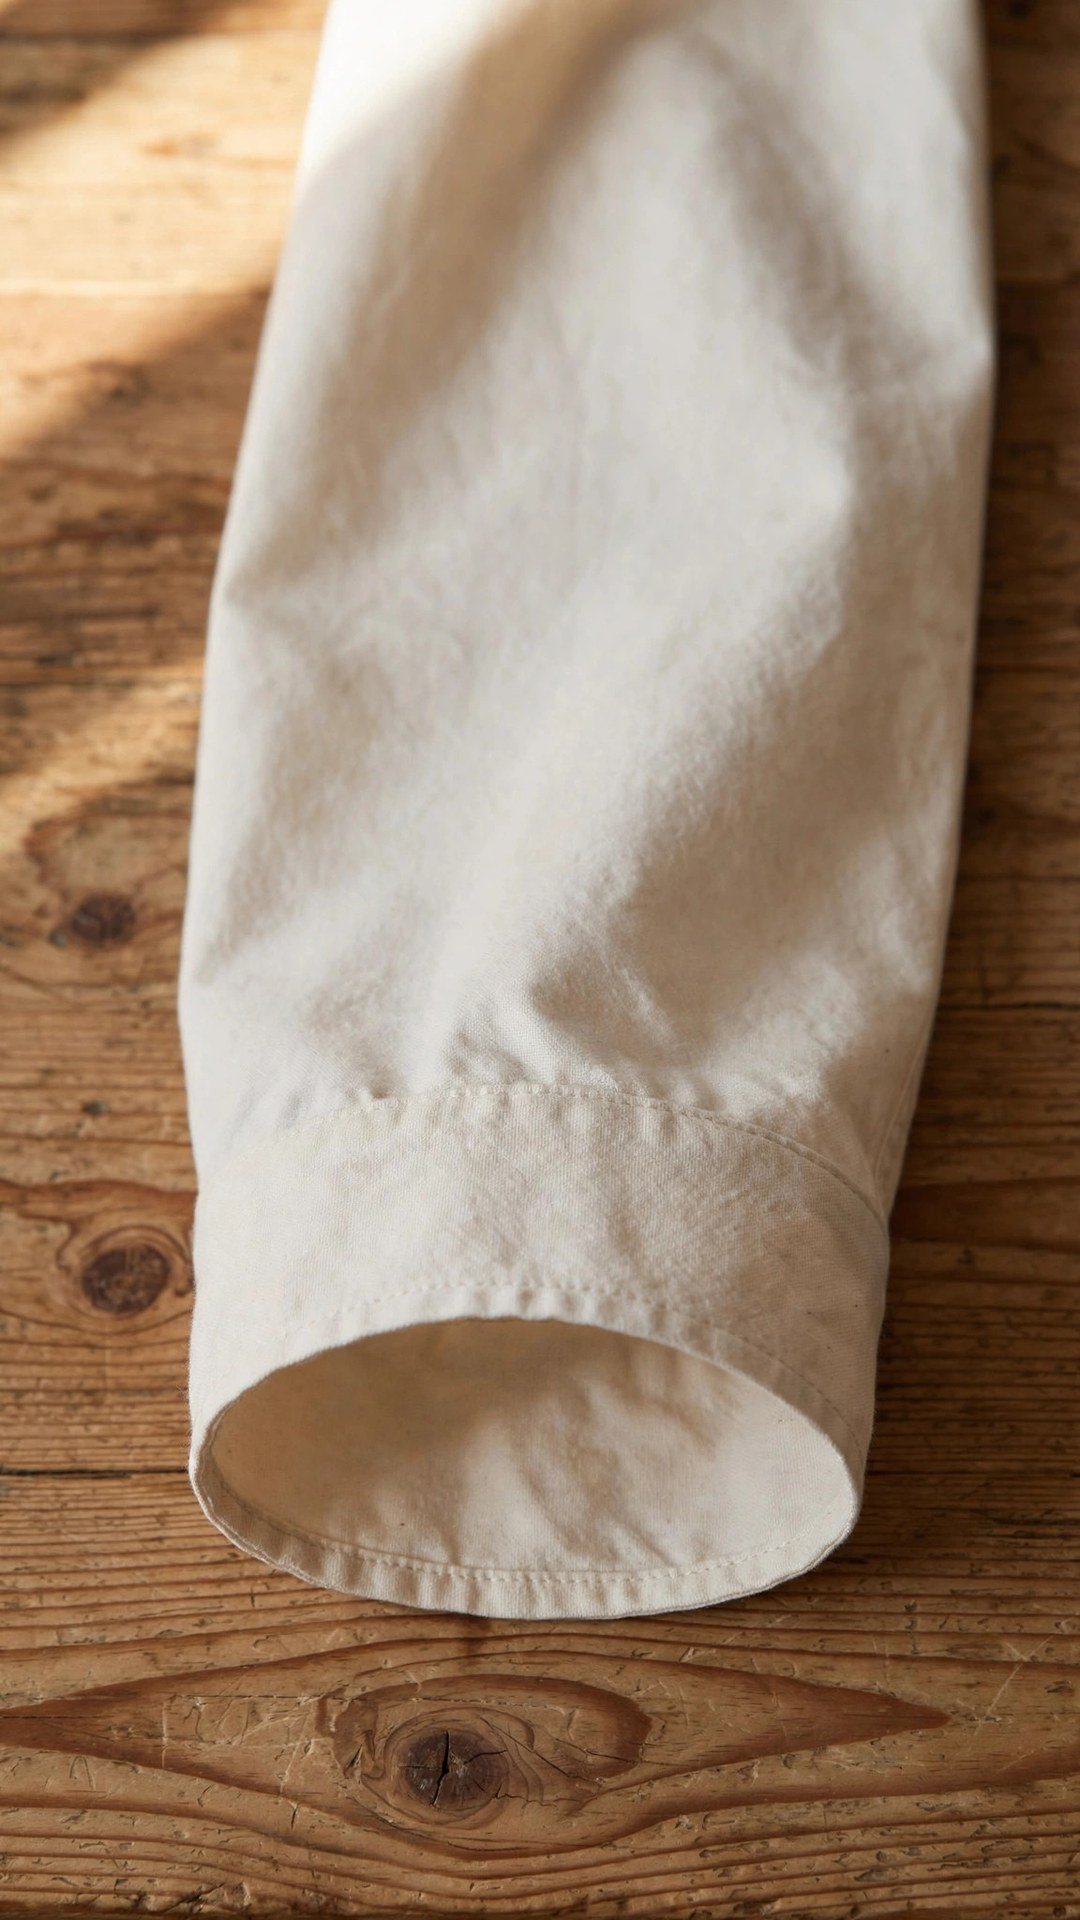
For a sleeve hem, press the hem allowance to the wrong side, then slide the sleeve over the arm with the wrong side facing out. Start at the underarm seam, sew around the circle, and overlap your starting stitches by a short distance, backstitching to secure them. Keep the rest of the sleeve hanging free, not bunched under the arm, and turn the tube gently as you sew so the hem stays flat.
Trouser hems work the same way, with one extra tip: press the hem well and pin it at the side seams first, so the hem does not twist as you rotate the leg. Sew slowly around the leg, and stop with the needle down at the side seams to check that the layers are lying flat. If the hem is bulky at the seam, press that spot flat before you sew over it, and use a slightly longer stitch to cross the bulk smoothly.
Mistakes to Avoid With the Free Arm
The most common mistake is forcing a tube that is too narrow over the arm. If the sleeve barely fits, the fabric stretches and the stitches pucker. For very narrow tubes, hand sew the hem or use a small sleeve board instead. The second mistake is letting the rest of the garment drag on the table and pull the fabric off grain. Support the weight of the garment with your free hand, so the needle area stays relaxed.
The third mistake is forgetting to remove the flat bed before you start, then wondering why the fabric bunches. Make it a habit to check the bed before you sew a tube. And finally, do not sew over pins on the free arm. The arm gives you less room to manoeuvre, so a pin under the foot is more likely to break a needle. Remove each pin just before it reaches the foot, and keep a magnetic pin holder nearby, as I suggest in how to choose pins or clips.
Frequently Asked Questions
What is the free arm on a sewing machine used for?
It is used for sewing tube shaped pieces such as sleeves, trouser legs, cuffs, and baby clothes. The narrow arm lets the tube slip around it so you can sew in a circle without bunching the rest of the garment.
How do I remove the flat bed to use the free arm?
On most machines, the accessory box or flat bed slides to the left or lifts off. Check your manual for a latch, then slide it off gently and store it nearby so you can slide it back on for flat sewing.
Can I hem trousers on the free arm?
Yes. Turn the trouser leg inside out, slide it over the arm, press the hem first, and sew slowly around the circle, stopping with the needle down at the side seams to keep the layers flat.
Why do my stitches pucker on the free arm?
Puckering usually means the tube is too tight over the arm, the fabric is being pulled, or the tension is too high. Go slower, support the garment weight, and check your tension on a scrap of the same fabric first.
Give Your Free Arm a Try on Your Next Sleeve
The free arm is one of those features that looks mysterious until you use it once, then becomes second nature. Slide off the bed, slip on a sleeve, and sew a slow, even circle. Your hems will be neater, your sleeves will be easier, and you will wonder why you ever sewed a tube on a flat bed.

Written by June Carter
I am June, a sewing enthusiast who loves turning simple fabric into things people actually use. I test every technique and product I write about at my own machine before it lands here.